
Setup
How to Install Clash Verge on Windows
Installing Clash Verge on Windows takes about a minute. The three things that actually trip people up are: grabbing the wrong installer, the SmartScreen popup, and a blank window caused by a missing WebView2 runtime. Let's handle all three in order.
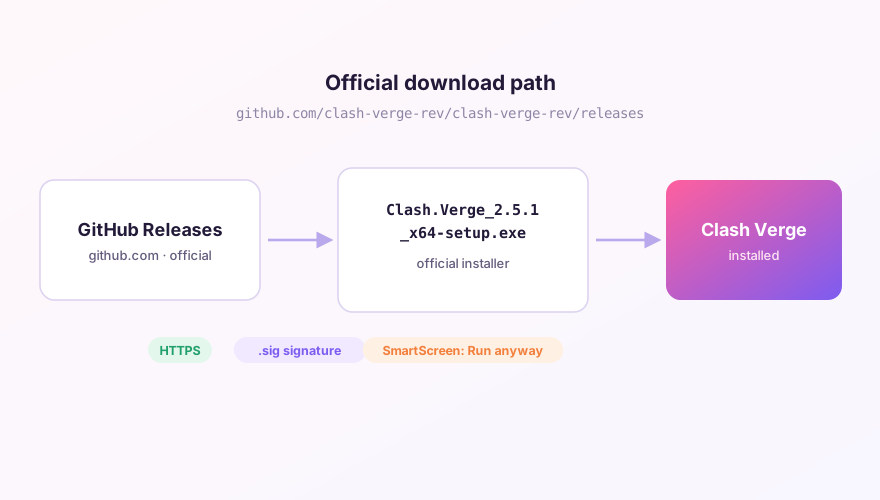
Step 1: Pick the right installer
On the download page (or GitHub Releases) you'll find four Windows executables:
x64-setup.exe— 64-bit Intel/AMD systems. This is the one almost everyone wants;arm64-setup.exe— Snapdragon-based Windows laptops (Surface Pro X and friends);- Builds with
fixed_webview2in the name — the same app with the WebView2 runtime bundled in; the fix for stripped-down Windows images or machines that show a blank window.
Not sure whether you're on ARM? Press Win + Pause and check the "System type" line.
Step 2: Run the installer
- Double-click the exe. If the blue "Windows protected your PC" screen appears, click More info → Run anyway. Open-source projects don't buy code-signing certificates, so SmartScreen flags them as "unrecognized" — that's expected, as long as the file came from the official Releases;
- Keep the default install path and click through;
- After installation, the cat icon appears in the system tray.
If your antivirus flags verge-mihomo.exe inside the install folder, whitelist it. A proxy core that creates virtual adapters and listens on local ports looks suspicious to heuristics — that's the nature of the job.
Step 3: First-launch checklist
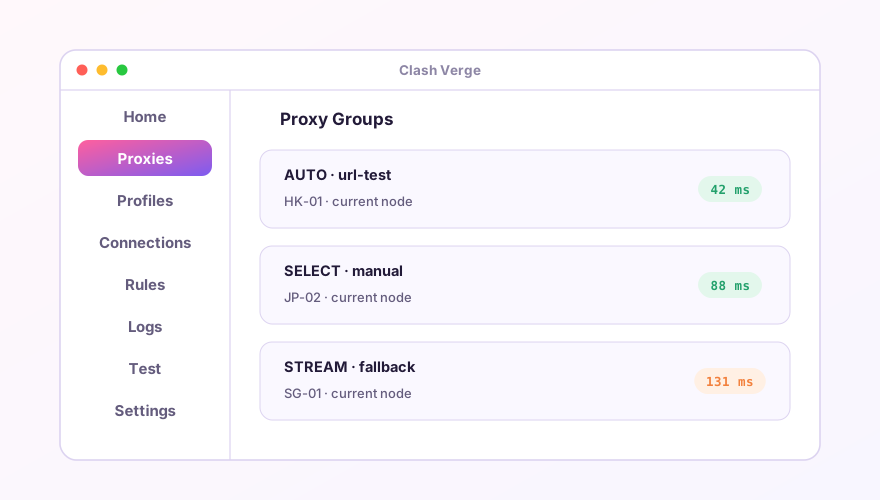
- Open the Profiles page and import your subscription;
- Go to Settings and flip on System Proxy;
- Pick a low-latency node on the Proxies page. Your browser should now work.
Blank window or won't start?
A white/empty window is almost always WebView2. Check Settings → Apps for "WebView2" — if it's missing, install Microsoft's Evergreen runtime, or simply reinstall using the fixed_webview2 build. For other startup errors, see the error reference.
Windows 64-bit installer · v2.5.7 · free & open source